Mastering Gluten-Free Sweet Treats: 3 Expert Techniques for Perfect Texture in 2026
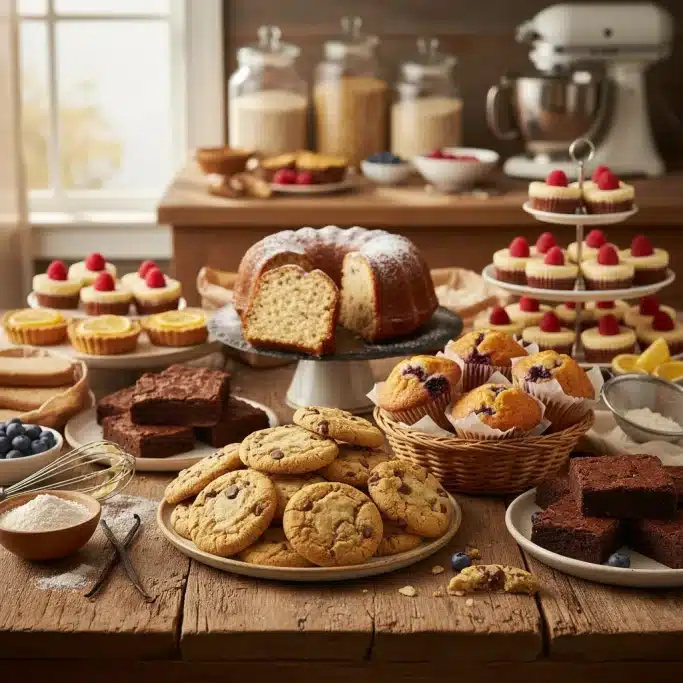
In the evolving world of dietary restrictions and conscious eating, gluten-free baking has moved beyond a niche necessity to a culinary art form. For many years, the phrase ‘gluten-free’ often conjured images of dry, crumbly, or dense baked goods that, while safe for consumption, often lacked the delightful textures of their gluten-containing counterparts. However, as ingredients, techniques, and understanding have advanced, achieving perfect texture in gluten-free sweet treats is no longer a pipe dream but an achievable reality for home bakers and professional pâtissiers alike. This comprehensive guide will delve into three expert techniques that are revolutionizing gluten-free baking texture, ensuring your cookies are chewy, your cakes are moist, and your pastries are flaky.
Anúncios
The journey to mastering gluten-free baking texture begins with a fundamental understanding of what gluten contributes to traditional baked goods. Gluten, a protein composite found in wheat, barley, and rye, acts as the structural glue, providing elasticity, chewiness, and the ability to trap gases, leading to light and airy results. Without it, bakers face the challenge of replicating these crucial characteristics using alternative ingredients and methods. This is where innovation and precision come into play. Forget the days of settling for ‘good enough’ gluten-free desserts. We’re here to equip you with the knowledge to create truly exceptional sweet treats that will impress even the most discerning palates.
Our focus today will be on practical, actionable strategies that address the core challenges of gluten-free baking. We’ll explore how to navigate the vast array of gluten-free flours, understand the critical role of moisture, and harness the power of binders and emulsifiers. By the end of this article, you will have a robust toolkit to consistently produce gluten-free sweet treats with enviable textures, elevating your baking game to new heights. Prepare to transform your kitchen into a haven of delicious, perfectly textured gluten-free delights!
Anúncios
Technique 1: The Art of Custom Gluten-Free Flour Blending for Optimal Texture
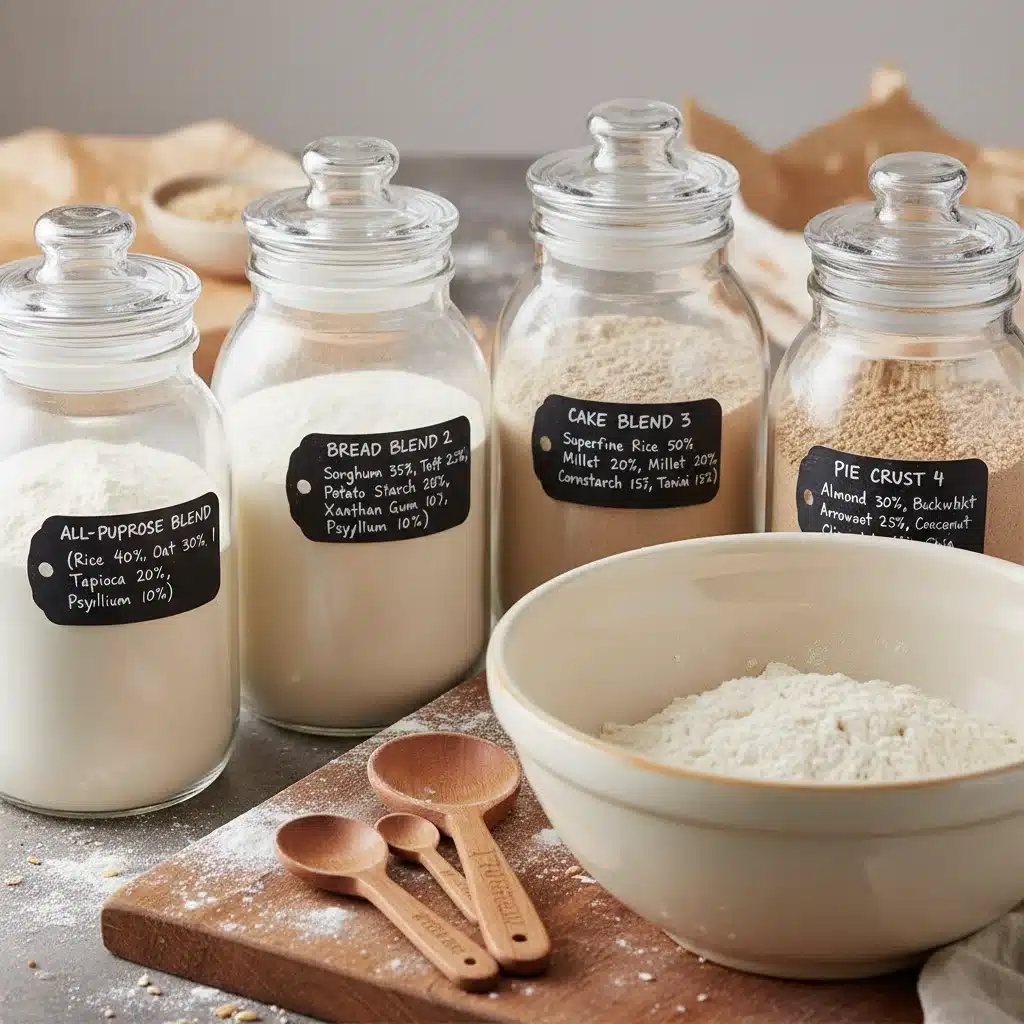
One of the most significant advancements in achieving superior gluten-free baking texture is the move away from single-source gluten-free flours to custom blends. While a single gluten-free flour like rice flour or almond flour might work for specific applications, relying on one often leads to compromised texture – think gritty, dry, or overly dense. The secret lies in combining different flours, each bringing unique properties to the mix, to mimic the complex structure provided by wheat flour.
Understanding Different Gluten-Free Flours and Their Roles:
- Structure/Protein Flours: These flours provide the bulk and some protein, contributing to structure. Examples include brown rice flour, sorghum flour, and millet flour. Brown rice flour, for instance, offers a good base but can be gritty if not finely ground. Sorghum flour provides a softer crumb and a slightly sweet flavor.
- Starch Flours: Essential for tenderness, chewiness, and binding. These include tapioca starch, potato starch, cornstarch, and arrowroot powder. Tapioca starch is particularly good for chewiness and helps create a crispy crust. Potato starch adds lightness and moisture retention.
- Nut/Seed Flours: These contribute richness, moisture, and often a pleasant flavor. Almond flour, oat flour (certified gluten-free), and sunflower seed flour fall into this category. Almond flour adds tenderness and a slightly nutty flavor, while oat flour provides a chewy texture and fiber.
- Whole Grain Flours: Offering fiber, nutrients, and a heartier texture. Buckwheat flour (despite its name, it’s gluten-free) and quinoa flour are good examples. They can be dense, so use them in moderation.
Crafting Your Own Blends: The Ratios and Considerations
A good starting point for a balanced all-purpose gluten-free flour blend often includes a combination of 60-70% structure/protein flours and 30-40% starch flours. However, this is just a baseline, and adjustments are crucial depending on the desired outcome for your specific sweet treat. For instance:
- For chewy cookies: You might increase the proportion of tapioca starch and incorporate some oat flour for that desirable chew.
- For light and airy cakes: A higher percentage of potato starch or cornstarch combined with a finely ground rice flour and a touch of almond flour can yield a tender crumb.
- For flaky pastries: A blend that emphasizes a balance of rice flour, tapioca starch, and a small amount of a protein flour like sorghum can help achieve layers.
Experimentation is key here. Keep a baking journal to track your flour blend ratios and the resulting textures. Small adjustments can make a big difference in achieving the perfect gluten-free baking texture. Remember that pre-made gluten-free flour blends are a convenient option, but understanding their components can help you troubleshoot and even enhance them for specific recipes. Always look for blends that list a variety of flours and starches, rather than just one or two.
Technique 2: Masterful Moisture Control and Hydration for Superior Crumb
One of the most common complaints about gluten-free baked goods is their tendency to be dry and crumbly. This is largely due to the absence of gluten, which typically absorbs and retains moisture, and the differing absorption rates of gluten-free flours. Mastering moisture control is paramount to achieving a desirable gluten-free baking texture – think moist cakes, tender muffins, and chewy brownies. This technique involves not just adding more liquid, but understanding how different ingredients contribute to hydration and how to manage them effectively.
Beyond Water: Ingredients That Boost Moisture and Tenderness:
- Fats: Butter, oil, and shortening not only add flavor but also tenderize the crumb and contribute to moisture. Using a combination of fats (e.g., butter for flavor, oil for tenderness) can be highly effective.
- Dairy Products: Buttermilk, yogurt, sour cream, and milk add moisture and often a pleasant tang. The acidity in buttermilk and yogurt can also react with baking soda, promoting a lighter texture.
- Fruits and Vegetables: Pureed fruits like applesauce, mashed bananas, pumpkin puree, and shredded zucchini are excellent natural humectants. They add fiber, flavor, and significant moisture, helping to keep baked goods from drying out.
- Sweeteners: Honey, maple syrup, and brown sugar (which contains molasses) are hygroscopic, meaning they attract and retain moisture. Using a portion of these liquid or moist sweeteners can significantly improve the shelf life and tenderness of your gluten-free treats.
- Eggs: Eggs provide structure, richness, and moisture. The yolks contribute fat and emulsification, while the whites add protein and can be whipped for aeration.
The Importance of Proper Hydration and Resting Batters:
Gluten-free flours often absorb liquid differently and more slowly than wheat flour. This means that simply adding the same amount of liquid as a traditional recipe often isn’t enough, or it needs time to fully hydrate. Over-mixing can also be detrimental, leading to dense results. Here are some tips:
- Add Extra Liquid: Many gluten-free recipes benefit from a slightly higher liquid content than their gluten-containing counterparts. Start with the recipe’s recommended amount and be prepared to add a tablespoon or two more if the batter seems too thick or dry.
- Rest the Batter: This is a game-changer for gluten-free baking texture. Allowing your batter or dough to rest for 15-30 minutes (or even longer, refrigerated) gives the flours time to fully absorb the liquids. This leads to a smoother batter, better consistency, and a less gritty final product. For cookies, chilling the dough also helps prevent spreading.
- Don’t Overbake: Gluten-free baked goods can go from perfectly moist to dry and crumbly very quickly. Keep a close eye on your oven and err on the side of underbaking slightly, as they will continue to cook a bit as they cool. A toothpick inserted into the center should come out with moist crumbs, not wet batter.
By carefully selecting moisture-rich ingredients and understanding the hydration needs of gluten-free flours, you can significantly improve the tenderness and moistness of your sweet treats, making dry and crumbly a thing of the past. This meticulous approach to moisture control is a cornerstone of achieving an excellent gluten-free baking texture.
Technique 3: Harnessing the Power of Binders and Emulsifiers for Structure and Elasticity
Without gluten’s natural binding and elastic properties, gluten-free baked goods can often lack cohesion, leading to a crumbly texture. This is where binders and emulsifiers step in, acting as crucial replacements to provide structure, elasticity, and prevent crumbling. Understanding and effectively utilizing these ingredients is fundamental to perfecting gluten-free baking texture.
Essential Gluten-Free Binders:
- Xanthan Gum: This is perhaps the most widely used gluten-free binder. A small amount (typically 1/4 to 1 teaspoon per cup of gluten-free flour blend, depending on the recipe) provides elasticity and helps trap gases, similar to gluten. It’s excellent for cakes, cookies, and breads, preventing them from falling apart. However, too much can result in a gummy texture, so use it sparingly and precisely.
- Guar Gum: Similar to xanthan gum but derived from a different source. It’s often used interchangeably with xanthan gum, though some bakers find xanthan gum more effective for elasticity and guar gum better for thickening. It helps prevent ingredients from separating and improves structure.
- Psyllium Husk Powder: This fiber-rich ingredient is a powerful binder and adds significant elasticity, particularly useful in bread-like structures. It absorbs a lot of liquid, so recipes using it often require increased hydration. It contributes to a chewier texture and can replicate the ‘stretch’ often missing in gluten-free doughs.
- Ground Flaxseed (Flax Egg): When mixed with water, ground flaxseed forms a gel that can act as an egg substitute and a binder, adding moisture and a slightly nutty flavor. It’s particularly effective in cookies, muffins, and quick breads, contributing to a chewier texture.
- Chia Seeds (Chia Egg): Similar to flax seeds, chia seeds also form a gel when soaked in liquid, offering binding properties and omega-3 fatty acids. They can be used in a similar fashion to flax eggs.
The Role of Emulsifiers:
Emulsifiers help to blend ingredients that wouldn’t normally mix, such as oil and water, creating a smoother, more stable batter or dough. This stability translates to a better gluten-free baking texture, preventing separation and ensuring even distribution of moisture and fat.
- Eggs: Beyond moisture, eggs are natural emulsifiers, particularly the yolks. They help create a smooth batter and contribute to a fine crumb.
- Lecithin (Soy or Sunflower): Available in granular or liquid form, lecithin is a powerful emulsifier that can improve the texture and mouthfeel of gluten-free baked goods. It helps to keep fats and liquids evenly dispersed, resulting in a more uniform and tender crumb. A small amount can make a big difference in preventing dryness.
- Commercial Emulsifiers: Some specialized baking emulsifiers are available, often used in professional settings, which can further enhance crumb structure and shelf life.
When incorporating binders and emulsifiers, precision is key. Start with the amounts recommended in tested gluten-free recipes and adjust gradually. Too much binder can lead to a gummy or rubbery texture, while too little will result in a crumbly product. The right balance will provide the necessary structure and elasticity to achieve an impeccable gluten-free baking texture.
Advanced Tips for Elevating Your Gluten-Free Baking Texture
Beyond the three core techniques, a few additional considerations can further refine your gluten-free baking texture and ensure consistently excellent results. These tips often involve subtle adjustments and a deeper understanding of the baking process itself.
Temperature Matters: Ingredients and Oven
- Room Temperature Ingredients: Just like in traditional baking, using room temperature eggs, butter, and dairy products is crucial for gluten-free recipes. This allows for better emulsification, creating a smoother batter and a more even crumb. Cold ingredients can cause batters to curdle or become lumpy, impacting the final texture.
- Accurate Oven Temperature: An accurately calibrated oven is vital. Gluten-free baked goods can be more sensitive to temperature fluctuations. Too high, and they might dry out too quickly; too low, and they might not set properly or could become dense. Consider using an oven thermometer to verify your oven’s temperature.
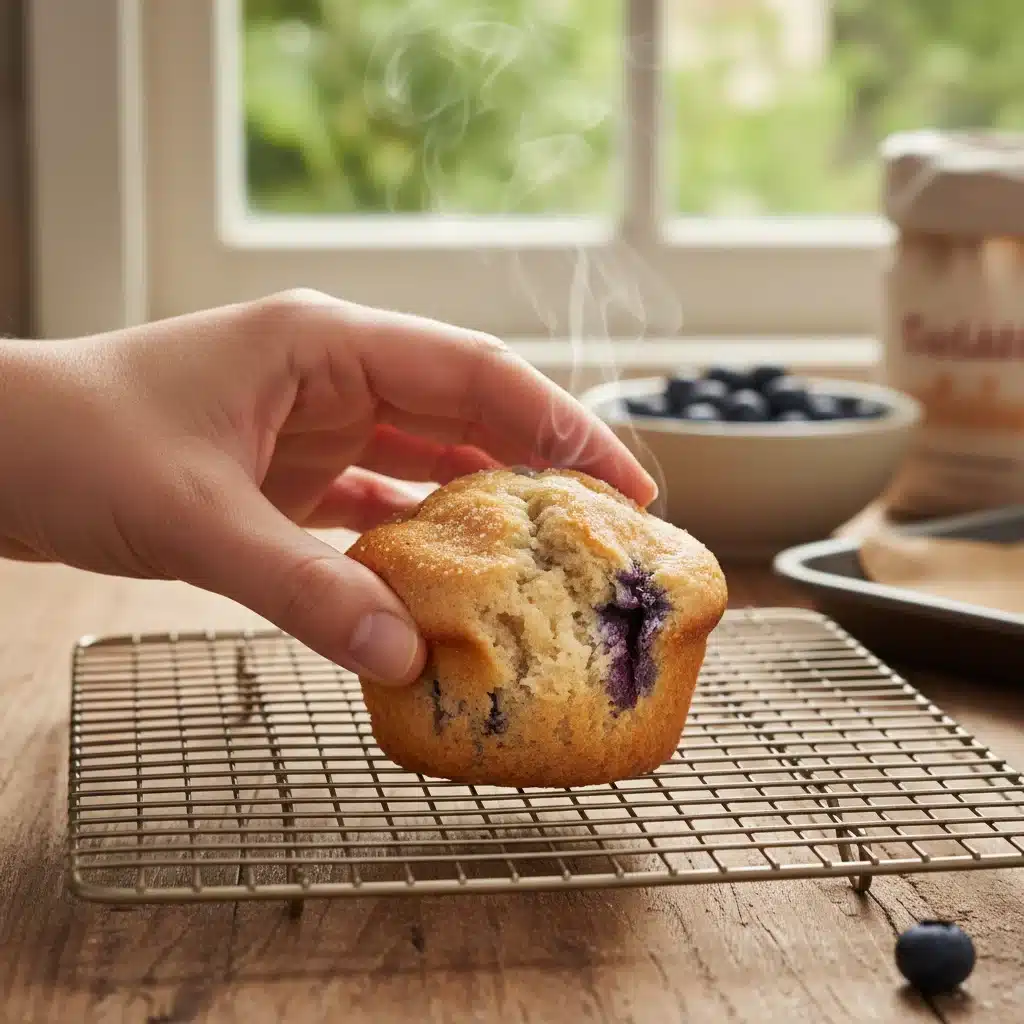
- Cooling Properly: Allow baked goods to cool completely on a wire rack. This allows steam to escape and prevents the bottom from becoming soggy. For cakes and quick breads, cooling upside down for a short period can sometimes prevent sinking and maintain a level top.
Don’t Fear the Scale: Precision in Gluten-Free Baking
Measuring ingredients by weight, using a digital kitchen scale, is significantly more accurate than measuring by volume (cups). Gluten-free flours vary greatly in density, meaning a ‘cup’ of almond flour can weigh very differently from a ‘cup’ of rice flour. This inconsistency can drastically impact the hydration and overall gluten-free baking texture. For consistent and reliable results, invest in a good kitchen scale and always use gram measurements when provided in recipes.
The Role of Leavening Agents: Baking Soda and Baking Powder
Leavening agents are critical for achieving lightness and an open crumb structure. While their function is similar to traditional baking, their interaction with gluten-free flours can be slightly different.
- Baking Soda: Requires an acid (like buttermilk, yogurt, lemon juice, or brown sugar) to activate and produce carbon dioxide, contributing to lift.
- Baking Powder: A double-acting baking powder contains both an acid and a base, reacting once when mixed with liquid and again when heated in the oven, providing a sustained lift.
Ensure your leavening agents are fresh, as their potency diminishes over time. The correct balance of baking soda and baking powder, alongside appropriate acidic ingredients, is essential for achieving an airy, tender gluten-free baking texture.
Storage Solutions for Maintaining Texture
Gluten-free baked goods can sometimes dry out faster than their gluten-containing counterparts. Proper storage is crucial for maintaining their hard-won texture.
- Airtight Containers: Store most baked goods in airtight containers at room temperature for a few days.
- Refrigeration: For items with fresh fruit, dairy-based fillings, or those that need to last longer, refrigeration is necessary. However, some items can dry out in the fridge, so consider bringing them to room temperature before serving.
- Freezing: Many gluten-free treats freeze exceptionally well. Wrap individual portions tightly in plastic wrap and then place them in a freezer-safe bag or container. Thaw at room temperature or gently reheat.
Common Pitfalls and How to Avoid Them in Gluten-Free Baking
Even with the best techniques, gluten-free baking can present unique challenges. Understanding common pitfalls and how to circumvent them is vital for consistent success in achieving optimal gluten-free baking texture.
Pitfall 1: Gritty Texture
Cause: Often due to using coarse gluten-free flours, especially brown rice flour that isn’t finely milled, or not allowing enough rest time for flours to hydrate.
Solution: Use super-fine ground flours when possible. Always allow your batter to rest for at least 15-30 minutes before baking to give flours ample time to absorb liquid and soften. This is particularly important for recipes with higher proportions of rice or millet flour.
Pitfall 2: Dry and Crumbly Baked Goods
Cause: Insufficient moisture, overbaking, or an imbalanced flour blend lacking enough starch or fat.
Solution: Review your recipe’s liquid-to-flour ratio. Consider adding a bit more liquid (milk, water, or fruit puree). Incorporate moisture-rich ingredients like applesauce, yogurt, or extra fat. Be vigilant with baking times – remove items from the oven as soon as they are done, even if they look slightly underdone, as they will continue to set as they cool. Ensure your flour blend has adequate starch components.
Pitfall 3: Dense and Gummy Texture
Cause: Too much binder (xanthan or guar gum), over-mixing the batter, or using too much heavy, protein-rich flour without enough starch for lightness.
Solution: Be very precise with binders; often, less is more. For every cup of gluten-free flour blend, usually 1/4 to 1/2 teaspoon of xanthan gum is sufficient for most cakes and cookies. Avoid over-mixing; mix just until combined. Re-evaluate your flour blend to ensure a good balance of structure and starch flours to promote lightness.
Pitfall 4: Baked Goods Spreading Too Much
Cause: Too much fat, not enough binder, or a batter that is too warm.
Solution: Ensure your recipe has the correct amount of binder. If baking cookies, chill the dough thoroughly before baking. This solidifies the fats, preventing excessive spreading. If using high-fat flours like almond flour, you may need slightly more binder or less fat.
Pitfall 5: Lack of Rise or Flat Results
Cause: Inactive leavening agents, insufficient leavening, or a batter that is too heavy.
Solution: Check the freshness of your baking soda and baking powder. Ensure there’s an acidic component to activate baking soda. Sometimes, a slightly increased amount of leavening agent is needed in gluten-free recipes. Lighten your flour blend by incorporating more starch flours, or consider whipping egg whites separately and folding them in for extra aeration.
By being aware of these common issues and applying the suggested solutions, you can troubleshoot your gluten-free baking and consistently achieve the desired gluten-free baking texture. Every bake is a learning opportunity, and with practice, these challenges will become second nature to overcome.
Conclusion: The Future of Gluten-Free Baking Texture is Bright
The landscape of gluten-free baking has transformed dramatically, and with the expert techniques discussed – custom flour blending, masterful moisture control, and strategic use of binders and emulsifiers – achieving perfect gluten-free baking texture is not just possible, but highly attainable. Gone are the days of sacrificing taste and texture for dietary needs. Today, gluten-free sweet treats can stand proudly alongside their traditional counterparts, offering delightful experiences for everyone.
Embrace the journey of experimentation in your kitchen. Start with reliable gluten-free recipes, but don’t be afraid to tweak and adapt them using the principles you’ve learned. Pay close attention to the nuances of different flours, the role of hydration, and the subtle power of binders. Keep a baking journal to track your successes and challenges, allowing you to refine your approach over time.
The satisfaction of biting into a perfectly chewy gluten-free cookie, a moist and tender cake, or a flaky pastry is immense. By applying these expert techniques, you’re not just baking; you’re crafting culinary masterpieces that cater to health needs without compromising on the joy of delicious desserts. So, preheat your ovens, gather your ingredients, and embark on a rewarding journey to master the art of gluten-free baking texture. Your taste buds (and those of your loved ones) will thank you!