The Ultimate 2026 Guide to Perfect Pie Crusts: Achieve Flaky Results Every Time
Anúncios
The Ultimate 2026 Guide to Perfect Pie Crusts: Achieve Flaky Results Every Time
Anúncios
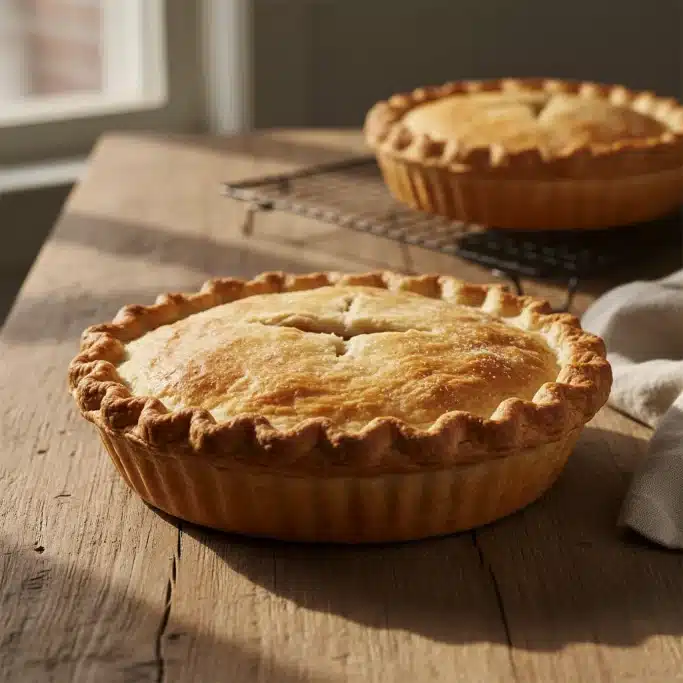
Ah, the humble pie crust. Often overlooked, yet undeniably the foundation of any truly magnificent pie. A perfectly baked pie crust is a thing of beauty – golden, tender, and most importantly, exquisitely flaky. It crumbles delicately with each bite, offering a delightful contrast to a sweet or savory filling. But let’s be honest, achieving that elusive perfect pie crust can feel like a culinary Everest for many home bakers. Fear not, fellow food enthusiasts! In this ultimate 2026 guide, we’re going to demystify the art of the perfect pie crust, equipping you with all the knowledge and techniques to achieve consistently flaky results, every single time.
Anúncios
Whether you’re a seasoned baker looking to refine your technique or a complete novice taking your first steps into the world of pie making, this comprehensive guide will walk you through every crucial step. We’ll delve into the science behind the flakiness, explore the best ingredients, discuss various mixing methods, and troubleshoot common pitfalls. By the end of this article, you’ll not only understand how to make a perfect pie crust, but you’ll also understand why each step is important, empowering you to adapt and innovate in your own kitchen.
The Science of Flakiness: What Makes a Perfect Pie Crust?
Before we dive into the ‘how-to,’ let’s briefly touch upon the ‘why.’ The magical flakiness of a perfect pie crust isn’t just about good luck; it’s a direct result of specific interactions between ingredients and temperature. The key players here are fat and flour.
Fat: The Flakiness Generator
When cold fat (butter, shortening, or a combination) is cut into flour, it creates tiny pockets and layers within the dough. As the pie bakes, the water content in the fat turns into steam, which then expands, pushing apart these layers of dough. This separation is what gives the crust its characteristic flakiness. If the fat melts too early, it will be absorbed by the flour, resulting in a tough, dense crust instead of a flaky one. This is why keeping your ingredients, especially the fat, as cold as possible is paramount.
Gluten Development: The Enemy of Tenderness
Flour contains proteins that, when hydrated and worked, form gluten. Gluten provides structure and elasticity, which is great for bread, but not so much for a tender pie crust. Excessive gluten development leads to a tough, chewy crust. Our goal when making pie crust is to minimize gluten formation by using cold water, handling the dough minimally, and resting it adequately.
Moisture: Just Enough, Not Too Much
Water is essential for bringing the dough together and activating some gluten, but too much water will make the dough sticky and difficult to work with, and can also contribute to a tough crust. The ideal amount of water will result in a dough that just barely holds together.
Essential Ingredients for Your Perfect Pie Crust
A perfect pie crust starts with quality ingredients. Don’t skimp here; the difference is palpable.
1. All-Purpose Flour
While some recipes call for pastry flour, good quality all-purpose flour works wonderfully. Look for unbleached varieties. The protein content in all-purpose flour is usually around 10-12%, which is manageable for pie crusts when handled correctly. Sifting your flour isn’t strictly necessary but can help ensure a lighter texture and remove any lumps.
2. Cold Fat: Butter, Shortening, or Both?
- Unsalted Butter: This is the gold standard for flavor. Butter provides an unparalleled richness and a beautiful golden color. The key is to use very cold, unsalted butter, cut into small pieces. Unsalted butter allows you to control the salt content in your recipe.
- Vegetable Shortening: Shortening is 100% fat and has a higher melting point than butter, which means it creates incredibly flaky crusts. It also makes for a very tender crust because it doesn’t contribute to gluten development. However, it lacks the flavor of butter.
- The Best of Both Worlds: Butter & Shortening Combo: Many bakers swear by a 50/50 mix of butter and shortening. This combination offers the best attributes of both: the flavor of butter and the flakiness and tenderness of shortening.
Pro Tip: Whichever fat you choose, make sure it’s ice cold. Cube your butter and pop it back in the fridge or even the freezer for 15-20 minutes before you begin.
3. Ice Water
This is non-negotiable. Ice water helps keep the fat cold and prevents premature gluten development. Have a glass of ice water ready, and add it gradually, tablespoon by tablespoon. You might not use all of it, or you might need a tiny bit more – it depends on the humidity and your flour.
4. Salt & Sugar (Optional)
A pinch of salt is crucial for flavor, balancing the richness of the fat and enhancing the overall taste. For sweet pies, a little sugar can be added to the dough, which contributes to browning and a slightly more tender crust. For savory pies, omit the sugar.
Step-by-Step Guide to Your Perfect Pie Crust
Now, let’s get down to the actual making of your perfect pie crust. We’ll focus on the traditional ‘cut-in’ method, which is highly reliable for achieving flakiness.
Step 1: Gather and Prepare Your Ingredients
Measure your flour, salt (and sugar, if using) into a large mixing bowl. Whisk them together to combine. Cut your very cold butter (and/or shortening) into small, ½-inch cubes. Place the cubed fat back in the fridge or freezer while you prepare your dry ingredients. Have your ice water ready.
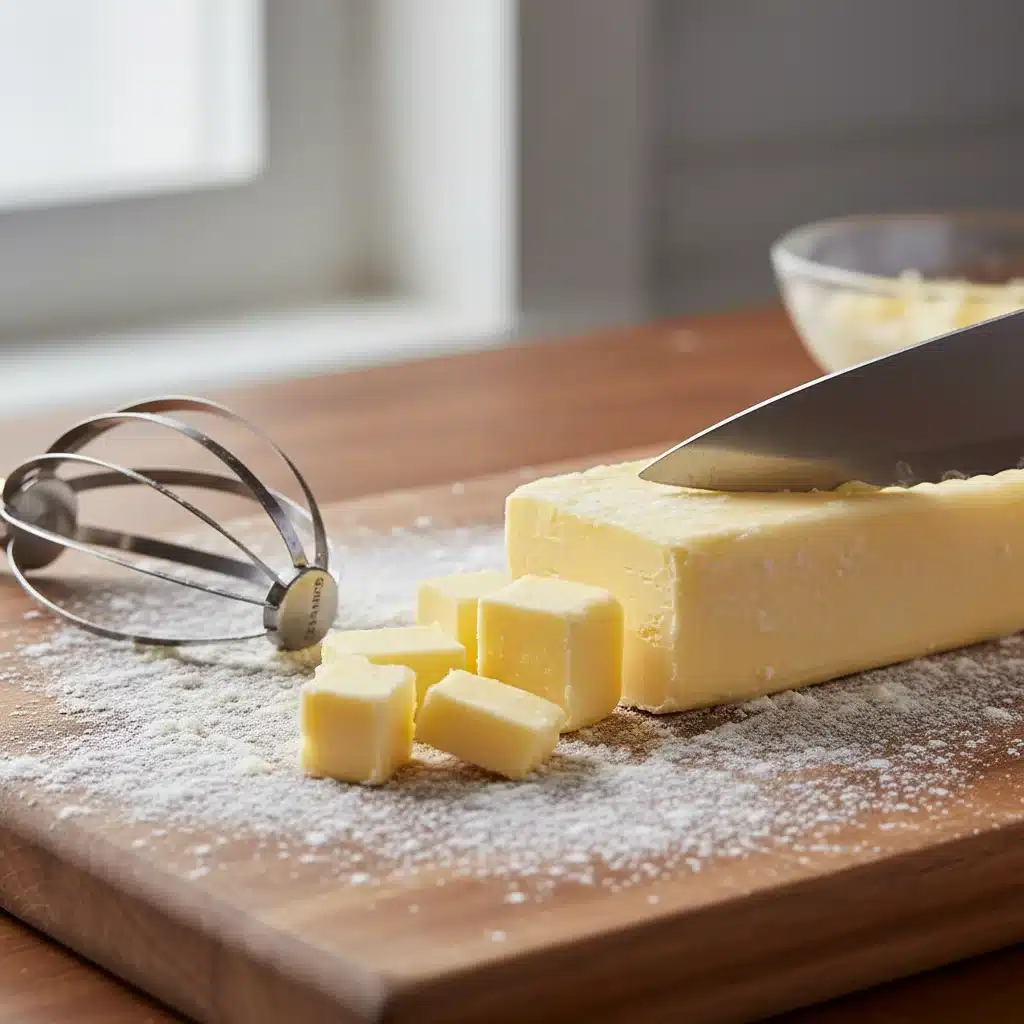
Step 2: Cut in the Cold Fat
This is where the magic begins. Add the cold fat cubes to the flour mixture. Using a pastry blender, two knives, or your fingertips, cut the fat into the flour until the mixture resembles coarse meal with some pea-sized pieces of fat still visible. It’s important not to overmix here. The pea-sized pieces of fat are what will create those glorious flaky layers. If using your hands, work quickly to prevent the butter from melting.
Step 3: Add the Ice Water Gradually
Sprinkle 1 tablespoon of ice water over the flour mixture. Toss with a fork to distribute. Continue adding ice water, one tablespoon at a time, tossing after each addition, until the dough just comes together when squeezed. You might need anywhere from 4 to 8 tablespoons, depending on your flour and ambient humidity. The dough should not be sticky or crumbly; it should be cohesive. Resist the urge to add too much water!
Step 4: Form the Dough & Chill (Crucial!)
Turn the dough out onto a lightly floured surface. Gently gather it into a ball, then flatten it into a disk. Do not knead! Wrap the disk tightly in plastic wrap and refrigerate for at least 30 minutes, or up to 2 days. This chilling period is critical:
- It allows the flour to fully hydrate.
- It chills the fat again, making it easier to roll out.
- It relaxes the gluten, leading to a more tender crust.
Step 5: Roll Out the Dough
Remove the chilled dough from the refrigerator and let it sit at room temperature for 5-10 minutes to soften slightly, making it easier to roll. Lightly flour your work surface and your rolling pin. Roll the dough from the center outwards, rotating the dough frequently to prevent sticking and to maintain an even thickness (about 1/8 to 1/4 inch). If the dough cracks, gently pinch it back together. If it becomes too warm or sticky, pop it back in the fridge for a few minutes.
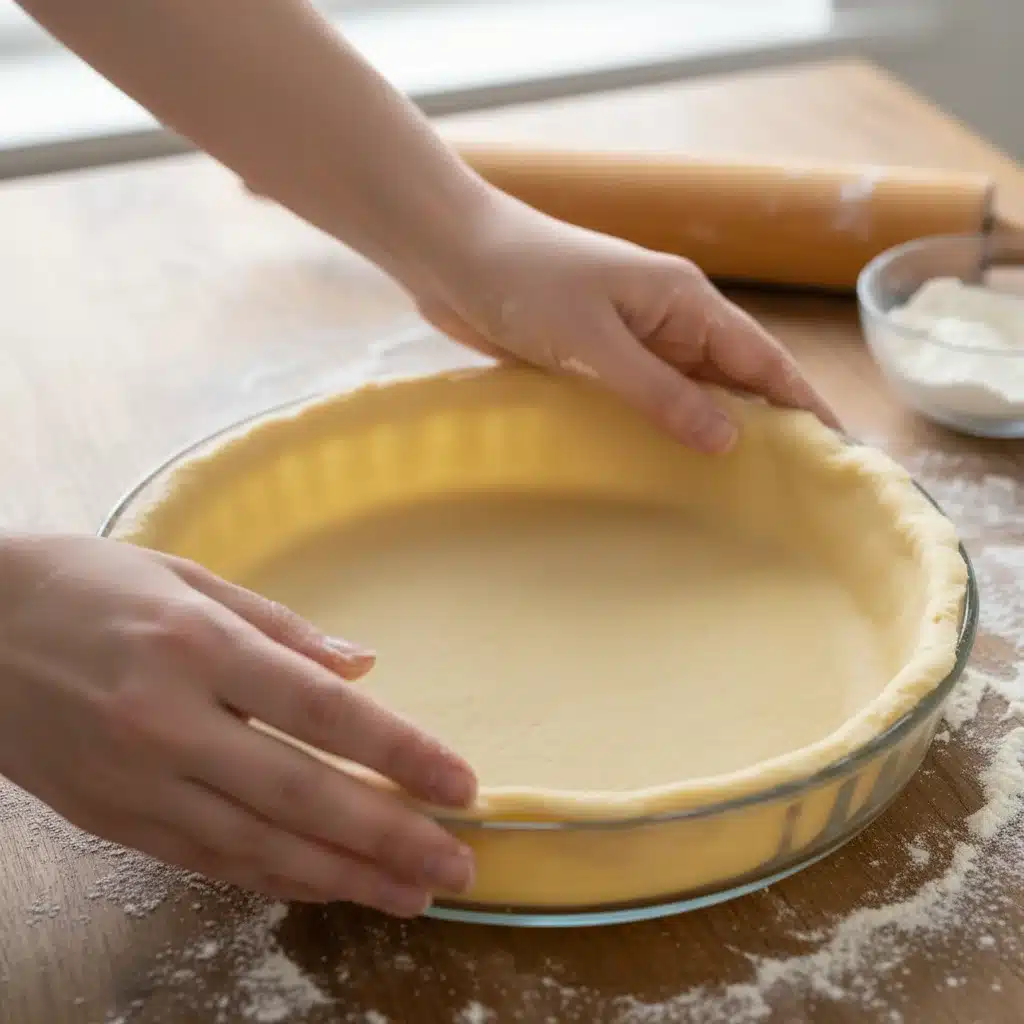
Step 6: Transfer to Pie Dish
Carefully transfer the rolled-out dough to your pie dish. The easiest way is to gently roll the dough around your rolling pin and then unroll it over the dish. Alternatively, fold it in quarters and unfold it in the dish. Center the dough and gently press it into the bottom and sides of the dish, ensuring there are no air pockets. Trim the edges, leaving about a 1-inch overhang.
Step 7: Crimp the Edges & Chill Again
Fold the overhanging dough under itself, creating a thicker edge. Now, crimp the edges decoratively using your fingers or a fork. Once crimped, place the pie dish with the crust back into the refrigerator for at least 20-30 minutes. This final chill helps the crust hold its shape during baking and prevents it from shrinking too much.
Baking Your Perfect Pie Crust: Blind Baking vs. Full Baking
Depending on your pie recipe, you’ll either blind bake (par-bake) or fully bake your crust.
Blind Baking (Par-Baking)
This is often necessary for pies with wet fillings (like quiches or custard pies) to prevent a soggy bottom. It’s also used for pies with no-bake fillings. To blind bake:
- Preheat your oven to 400°F (200°C).
- Line the chilled pie crust with parchment paper or foil, then fill it with pie weights, dried beans, or rice. These weights prevent the crust from puffing up and shrinking.
- Bake for 15-20 minutes, or until the edges are lightly golden.
- Remove the weights and parchment/foil. Prick the bottom of the crust with a fork a few times.
- Continue baking for another 5-10 minutes, or until the bottom is lightly golden and appears dry.
- Cool completely before adding your filling.
Full Baking (for Filled Pies)
For pies with fillings that require baking (like apple or cherry pie), you’ll typically add the filling to the unbaked or partially blind-baked crust and then bake according to the recipe’s instructions. The temperature and time will vary, but generally, pies start at a higher temperature (e.g., 425°F/220°C) for the first 15-20 minutes to set the crust, then the temperature is reduced (e.g., 375°F/190°C) for the remainder of the baking time.
Common Pie Crust Pitfalls and How to Avoid Them
Even with the best intentions, things can go awry. Here’s how to troubleshoot common pie crust problems:
1. Soggy Bottom
- Cause: Too much moisture from the filling seeping into the crust, or under-baking.
- Solution: Always blind bake your crust for wet fillings. Brush the bottom of a blind-baked crust with an egg wash (egg white + a little water) before filling and baking to create a moisture barrier. Ensure your oven is preheated to the correct temperature.
2. Tough Crust
- Cause: Overworking the dough, too much water, or not enough fat.
- Solution: Handle the dough minimally. Use ice water and add it gradually. Ensure your fat is very cold and cut into appropriate sizes. Chill the dough adequately.
3. Crumbly Dough
- Cause: Not enough water, or not enough fat.
- Solution: Add ice water one tablespoon at a time until the dough just comes together. Ensure you have the correct fat-to-flour ratio.
4. Shrinking Crust
- Cause: Not chilling the dough enough, or stretching the dough when fitting it into the pie plate.
- Solution: Always chill the dough thoroughly after forming the disk and again after placing it in the pie plate and crimping. Do not stretch the dough when transferring it; let it gently fall into place.
5. Burnt Edges
- Cause: Edges baking faster than the rest of the pie.
- Solution: Use a pie shield or create one with aluminum foil. Place it over the crust edges once they are golden brown, usually halfway through baking.
Advanced Tips for the Perfect Pie Crust Enthusiast
Once you’ve mastered the basics, here are a few extra tips to elevate your pie crust game:
Food Processor Method
For those who prefer a quicker approach, a food processor can cut in the fat. Pulse cold butter/shortening with flour until coarse crumbs form, then add ice water gradually, pulsing until just combined. Be careful not to overmix!
Vinegar or Vodka Trick
Some bakers add a tablespoon of white vinegar or vodka to their ice water. Alcohol inhibits gluten development, leading to an even more tender crust, and it evaporates during baking, leaving no taste. Vinegar also helps tenderize the dough.
Lard for Ultimate Flakiness
For the absolute flakiest crust, traditionalists swear by lard. High-quality leaf lard (not hydrogenated) can produce an incredibly tender and flaky crust, though it has a distinct flavor that some prefer to combine with butter.
Don’t Over-Flour Your Surface
While some flour is needed for rolling, too much will be incorporated into the dough, making it tough. Use just enough to prevent sticking.
Practice Makes Perfect Pie Crust
Like any culinary skill, making a perfect pie crust improves with practice. Don’t be discouraged by initial imperfections. Each pie is a learning opportunity.
Recipes to Try with Your Newfound Perfect Pie Crust Skills
Now that you’re armed with the knowledge to create the ultimate perfect pie crust, it’s time to put those skills to the test! Here are a few classic and contemporary pie ideas that will showcase your beautiful, flaky creation:
Classic Apple Pie
A double-crust apple pie is the quintessential American dessert. Your flaky bottom crust will stand up perfectly to the juicy apple filling, while a golden top crust adds a delightful crunch. Experiment with different apple varieties like Granny Smith for tartness, Honeycrisp for sweetness, and Braeburn for texture.
Creamy Pumpkin Pie
For a smooth, custardy filling, a blind-baked perfect pie crust is essential. The delicate texture of the crust will beautifully complement the spiced, rich pumpkin filling. Garnish with a dollop of fresh whipped cream for an irresistible treat.
Savory Chicken Pot Pie
Pie isn’t just for dessert! A hearty chicken pot pie with a rich, savory filling encased in a golden, flaky crust is the ultimate comfort food. This is a fantastic way to demonstrate the versatility of your perfect pie crust skills.
Lemon Meringue Pie
The tangy brightness of a lemon meringue pie requires a sturdy yet tender blind-baked crust to hold its vibrant filling and towering meringue. The contrast of textures is what makes this pie a showstopper.
Berry Galette (Free-Form Pie)
If you’re feeling adventurous, try a galette. This rustic, free-form pie is more forgiving than a traditional pie but still benefits immensely from a tender, flaky crust. Simply roll out your dough, pile fresh berries in the center, fold the edges over, and bake. It’s an elegant yet easy way to enjoy fresh fruit.
Storing Your Perfect Pie Crust Dough
One of the beauties of a good pie crust recipe is that the dough can be made ahead of time. This is a game-changer for busy bakers!
Refrigeration
Wrapped tightly in plastic wrap, pie dough can be stored in the refrigerator for up to 2-3 days. This is often beneficial as it allows the gluten to relax even further, resulting in a more tender crust. Just remember to let it sit at room temperature for 10-15 minutes before rolling to prevent cracking.
Freezing
For longer storage, pie dough freezes beautifully. Wrap the disk (or disks, if making a double batch) tightly in plastic wrap, then place it in a freezer-safe bag. It can be frozen for up to 3 months. To use, transfer the frozen dough to the refrigerator the night before you plan to bake. Once thawed, let it come to room temperature slightly before rolling, as you would with refrigerated dough.
The 2026 Perspective: Innovations and Trends in Pie Making
While the fundamentals of a perfect pie crust remain timeless, the world of baking is always evolving. In 2026, we’re seeing continued interest in:
- Alternative Flours: Experimenting with spelt, whole wheat, or even gluten-free flour blends for nuttier flavors and different textures, while still striving for flakiness.
- Flavor Infusions: Adding subtle flavors to the crust itself, such as a pinch of cinnamon, cardamom, or even finely ground citrus zest, to complement specific fillings.
- Decorative Edges: Beyond the traditional crimp, bakers are exploring intricate braids, leaf cutouts, and lattice work to make their pies visually stunning.
- Sustainability: A growing emphasis on sourcing local, organic ingredients, and minimizing waste in the kitchen.
These trends show that while the core principles of a perfect pie crust endure, there’s always room for creativity and personal expression. Don’t be afraid to experiment with these ideas once you’ve mastered the foundational techniques.
Conclusion: Your Journey to the Perfect Pie Crust
Creating a perfect pie crust is a rewarding culinary journey. It requires patience, attention to detail, and a respectful understanding of your ingredients. By focusing on keeping your fat cold, minimizing gluten development, and chilling your dough adequately, you’ll consistently produce a crust that is golden, tender, and beautifully flaky.
Remember, every baker, no matter how experienced, has had a pie crust mishap or two. The key is to learn from each experience and keep practicing. With this ultimate 2026 guide, you now possess the knowledge and confidence to tackle any pie recipe with enthusiasm. So go forth, embrace the flour, and bake a perfect pie crust that will impress everyone who takes a bite. Happy baking!


